Tuesday, November 1, 2011

A Million Halloween Photos!


Hello everyone!!


Did you have a good Halloween yesterday? We certainly did! Get ready to see a million photos today!! ha Let's call this Photo Tuesday (?-lol).


My first photo is of all the kids. It is a little out of order since I took it in the evening right before we left to go trick or treating. Can you tell that one of my kids is mad??!! He is a bit of a drama queen sometimes and couldn't get his head cover thingy to work the way he wanted and wouldn't let anyone help him sooooooo he ended up not wearing anything on his head. About two minutes after I snapped the photo he was fine and over it. At least it is a story to scrap right??!! ha


On to my next photo - we started off the day with excited kids rushing around getting their costumes on and gathering up goodies to take to their friends at school. I always love these photos of the kids from behind. And I love that Riley holds Georgie's hand. It looks so sweet. He is so sweet.


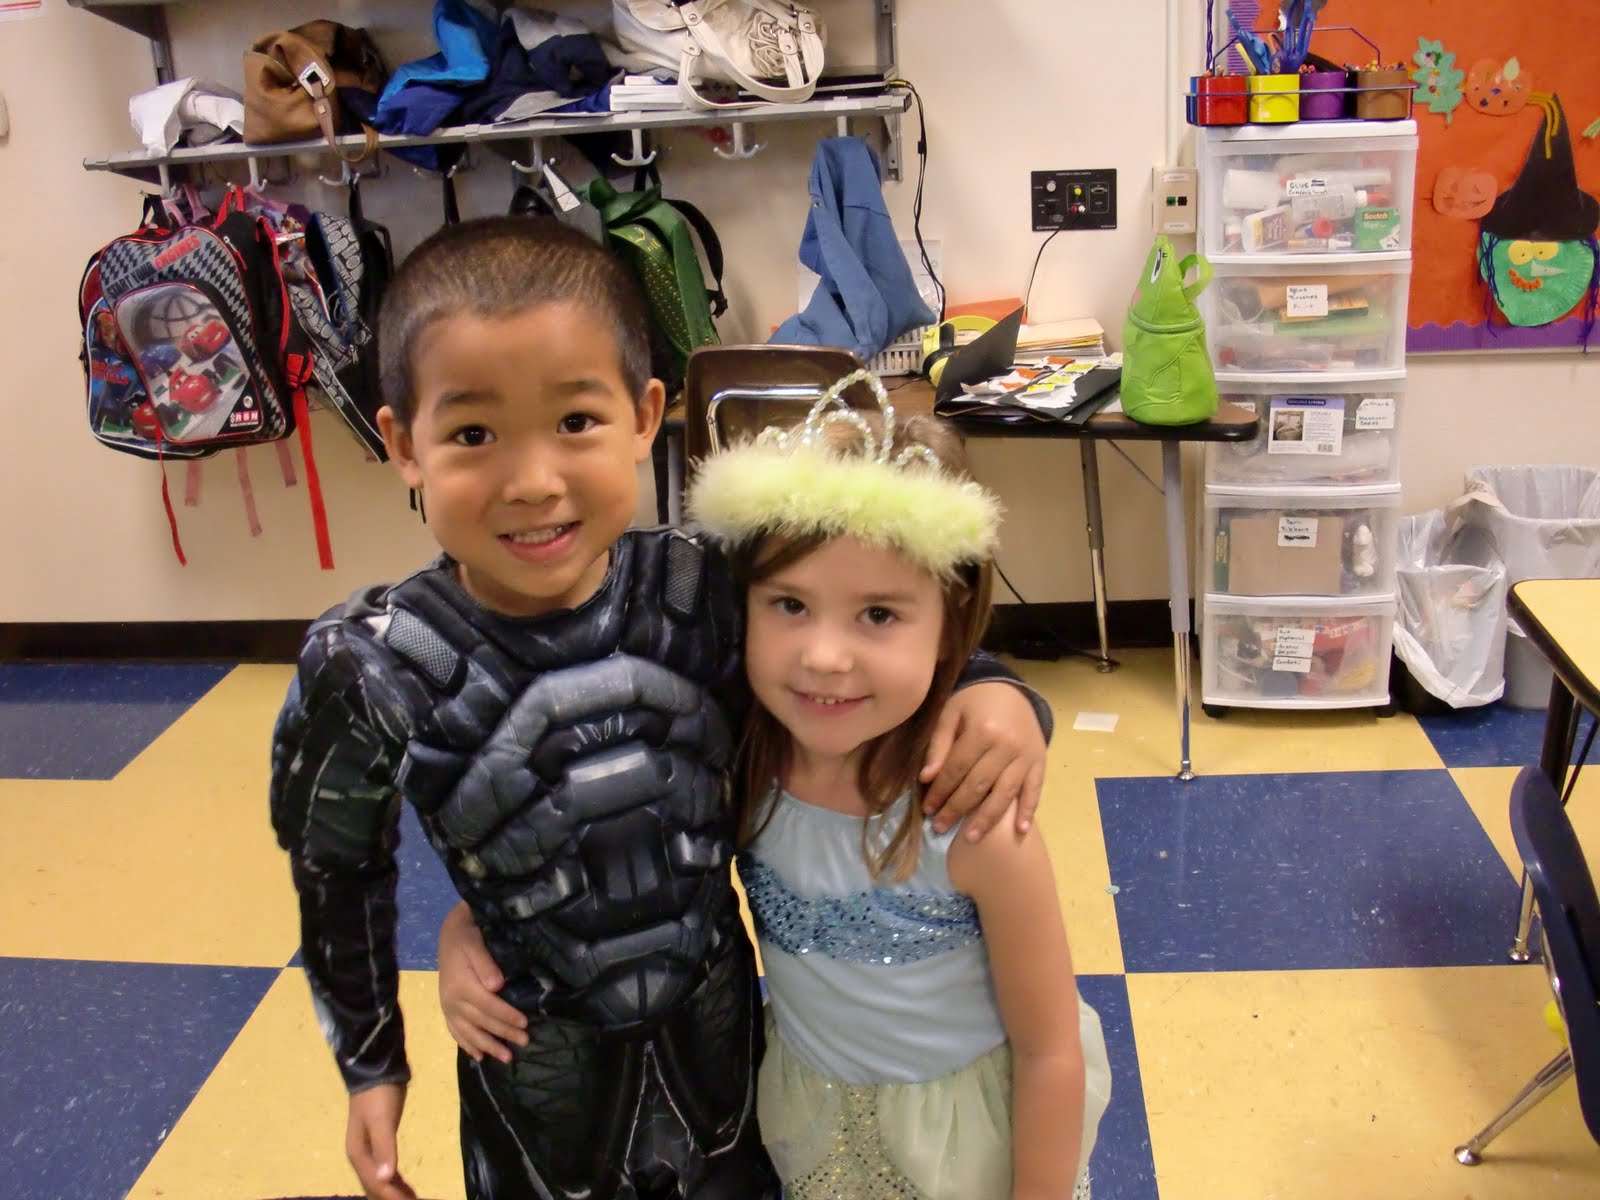
The kids dressed up as a ninja, a military person, a Transformer, a lady bug and Luigi.


I went to one school and helped out in my son's class. He was thrilled! He had to show me his "girlfriend". (?!) and then after several hours of singing, dancing, eating we went to the school parade. There I saw my daughter as she marched in with her class. It was fun to see them singing and dancing to the Monster Mash and other fun Halloween songs.


After that it was back home to do home work and finish getting our Halloween decorations just perfect. Yes, I always wait until the last minute to get things done....lol We got the right spooky atmosphere and a nice chair ready for my mother in law to sit on while she gave out candy.


The kids got their costumes back on and other than Quinn's drama with his head gear it all went smoothly. Finally it was dark and we were ready to go Trick or Treating. I know it is silly but we practiced saying Trick or Treat and learning to end by saying, "Thank you, Happy Halloween!!". It might sound silly but it worked and I had some super polite kids!! LOVE IT!


We made it almost all the way around our neighborhood until we got to a house that was a bit too scary for the little ones and with tears we headed home. But it was okay the tears cleared up pretty quickly when they got to dig into their candy stash at home! ha


Everyone had a blast and they were all pretty tired. They ended up in bed by 8:30pm. How was your day yesterday?? Do you celebrate Halloween?? If so, do you do it the same or different?


I have two projects posted today on the two Crafter's Companion blogs. On on the Challenge Blog and one on the informational blog. I will post them here tomorrow but if you want to see them you can go check them out now. There is a new challenge on the Crafter's Companion Challenge Blog this month. It is to use a Crafter's Companion Stamp and make a holiday card (any holiday). You know you want to go participate!!


Sunday, October 30, 2011

Hello Again


I have really obviously not been in a scrapping or blogging mood this week. I have only made one project and it was a "have to" for a DT. And I haven't bothered to blog at all. I sorry to leave you guys hanging all week. Hopefully this week will be more productive and creative.


I know it will be busy tomorrow on Halloween. The kids are all getting dressed up in their costumes for school and then the 3 little ones will have a parade and parties in their classrooms. Then they will come home, do homework (if there is any), eat dinner and then go trick or treating. They are super excited!! I am trying to get them to all settle down and go to sleep but it isn't working very well.


We carved pumpkins tonight and they turned out pretty cute. We had a couple of mishaps but we fixed them. What do you think??


I haven't shown you anything I got while I was on my trip yet. I found some fun things to use scrapping like a basket of laces and ribbon for $3 and 3 jars of spools and a jar of sewing notions.


I collect depression glassware in Ruby Red and Emerald Green and I found some new pieces to add to my collection. I'm always on the lookout for anything new (to me). I found this gorgeous red "Oyster and Pearls" platter and a large green brandy snifter. It is really large (not for drinking out of). I have about 5 of these type vase things in red (in various patterns and sizes) and I have them displayed at Christmas with colored lights in them and it is really beautiful. I plan to add this one to that group. I also got a "to die for" emerald green cake plate but I haven't taken a photo of it yet. I will share when I do.


This isn't all of my goodies but it should give you a little taste of my treasures.


And to end, here are photos of two of my sweet children. I had to take the photo of my son in the box reading the magazine because it just cracked me up and my dd asked me to take a photo of her baby for her so I did. Thought I would share with you...


I plan to take Halloween photos tomorrow and share them with you all so come back and visit.

Sunday, October 23, 2011

Halloween Treats


I found this cute project in Woman's Day Halloween Celebrations Magazine. The kids and I thought it would be fun to make for their classmates for Halloween. So we have been working on these little cuties all weekend. I am only showing you one of each but we have made a TON of them!! LOL You all know that I have 5 kids and all of these kids are in school and have classmates. So we had to make quite a few for them to give away.


They are really pretty simple to make and you might want to make them yourself. Here is the link to the download pattern PDF - http://womansday.com/boo


I just printed out the pattern on colored paper and then we fussy cut out the image. Next we inked the edges, stamped some sentiments and then glued on google eyes. I creased the folds on my Crafter's Companion Ultimate Tool but you don't have to have one to make these adorable little treats.


I used double sided tape to adhere the candy bars. The pattern works perfectly with Hershey Chocolate bars. They are just the right size but I wanted to show that you could use other types of candy too.


I think these will be a big hit with the kids in my children's classes.
Now I just need to keep them hidden until the 31st because my little ones will definitely try to sneak and eat them!! LOL


I'm sorry I have been blogging this week. I haven't really been in the mood to blog or scrap. All I have wanted to do is read. I read 4 books in two days and then was tired because I waited to start reading until the kids were in bed. So that made for some late nights. And I read a book yesterday and just finished another one today. So I have really been


a reading fiend! ha


I need to do a couple of DT projects in the next day or so. I should have been working on them this weekend.


The kids have a short week at school this week, only 3 days. And then it is already the end of October and Halloween!! Where did the month go??!! Are you like me and feel like October just zipped by??


I hope you have had a great weekend. Thanks for stopping by.


Tuesday, October 18, 2011

Especially For You


I'm excited to share my newest project with you. I recently received the newest collection of Humphrey the Elephant Stamps from Crafter's Companion. And I really LOVE THEM!!


I was especially drawn to this stamp set - Especially for You. Isn't she just adorable?! I decided to paper piece her dress out of some Graphic 45 Christmas paper that I think is yummy. I stamped her out on white paper and colored her with my Copic Markers. Next I stamped her on my patterned paper and cut out just the dress part of the image. Next I layered the patterned paper piece on top of the colored image.


Next I made an exploding box using my Ultimate Tool. This is just super easy to do. I used measurements that I received from a follow Design Team member, Jinky. She has calculated the exact size to fit a cupcake inside!! You can find these measurements on her blog. For my exploding box I made the base piece and then I made a lid to top it off and inside is an upside down lid that you glue down to keep your cupcake in place.


Can't you just see these as the perfect gift for a teacher or friend. Or as a take away gift at a party or wedding?? I am giving this set to our Mail Carrier. I have a super easy recipe for a Wonderful Pumpkin cupcake/muffin that I want to share with you.


All you need to make this delicious treat are these two things:


One box of yellow cake mix and 1 small can of pumpkin. Just mix the two items together. Next fill muffin tins about 3/4 full. (I use cupcake liners). Bake at 350 degrees for approximately 20 minutes. Cool.


That's it. They are ready for you to enjoy. You can ice them if you want or just eat them as is. You can use other flavors of cake mix. I have used spice cake and chocolate cake and they were both yummy. You can also add nuts and/or cinnamon to the mix before baking. I have even topped them with mini marshmallows. You are only limited by your imagination.


I hope you have enjoyed my project and I really hope you have a chance to make these sweet treats. Thanks for stopping by here today. Until next time....happy scrapping.


Sunday, October 16, 2011

Christmas Tray Class


Last Sunday, while Denise was here visiting me, we decided to take a class at my local scrapbook store. The class was to make a tray using the new Graphic 45 - Christmas Emporium Collection. The actual project used vintage photos of people I don't know. I wanted it to be a bit more personal so I decided to print out some photos of my children and use their photos on the tray. I did end up putting one of the vintage photos on it too. I think Denise was going to add personal photos to her tray too when she went home.


The instructor provided everything else we needed. She purchased the trays from Michael's for $10 each. She was pretty stoked to find them at such an inexpensive cost. They are really nice trays and come in black or white.


Since I was adding photos from home I ended up finishing my tray at home Sunday night. After I finished decorating it I used some Stickles and some Glossy Accents to highlight a few things. I really had a bit of drama because after I finished the tray I sat it upright to dry. I didn't think about the fact that the glossy accents would end up running down the project. Luckily, I caught it in time and could fix the things I messed up. I made sure to lay it flat to dry after that. I was sick at first when I saw all the dripping Glossy Accents. I guess it really is true that there are no accidents in scrapping just more opportunities to be creative!! LOL


I think this completed tray would be a perfect gift to give to my Mother and Dad for Christmas but I am loving it so much that I'm not sure I can part with it! LOL


We really had a good time at the class. I'm glad I thought to check and see what classes were being offered while Denise was here visiting me.


Okay, enough for today. Thanks for stopping by my blog!


Friday, October 14, 2011

Scrap Our Stash October Quote Challenge

Scrap Our Stash has a fun "Quote" Challenge going on this month. You are required to use a quote on your project. I made this layout of my son who loves to ride his bicycle. I'm surprised I don't use quotes on more layouts because when I do use them I LOVE them. I took these photos of my ds when he was out riding his bike with his brothers and sisters the other day. He LOVES to ride his bike as I have already mentioned! And loves to get his picture taken. He asked me to take these! ha And I thought they were cute photos so I decided I would try to record this moment in time with a layout. But wait this is a quote challenge...so I needed a quote. hello....Google is your friend! LOL I just put in the search for bike riding quotes and up popped the PERFECT quote for my layout! It is a quote from John F. Kennedy that says, "Nothing compares to the simple pleasure of a bike ride." See....perfect!

I typed it up and printed it out on vellum. I trimmed it and then used brads to attach it to my layout. I used paper from a kit in my stash and can't for the life of me remember who it is from. Sorry.
I already threw away the packaging. I stamped out the banner pieces and then fussy cut them out to make the banner. Most of the things I used on this layout were from my stash. (hence the beauty of making it for Scrap our Stash! lol)


I really like how it turned out and I think it really does capture a moment in time. Now it is your turn to do the October Quote Challenge at Scrap Our Stash.

Don't forget that there is a fun "Fall" challenge going on over at Sketches4all this week. There are a couple of great prizes so you might want to check it out!!


I thought I would end with a photo my scrapping buddies. They aren't really much help but they are good company. (lazy dogs! lol)

Okay, back to having fun on my trip!! lol Hope you are missing me and leaving lots of comments.


Wednesday, October 12, 2011

Bottle Tag Tutorial

Hi everyone,

I'm away on my trip but I thought I would share this project and the tutorial I made for Crafter's Companion. It is getting to be "that time of year" when everyone is going to holiday parties and what should a nice guest do?? You should take a hostess gift! I like to take a bottle of wine to give to the hostess and these bottle tags are the perfect thing to dress up a bottle of wine. They are SUPER EASY to make.


1. I start by cutting out a piece of card stock or pattern paper 3" x 8". You can use whatever size works best for the bottle you are working on but for purposes of this tutorial we will use 3" x 8" as our measurement. Using a corner rounder, round each corner.


2. Score a line about 2 inches down one end and fold over. While it is folded over round the corners. You will be cutting through both pieces of paper.


3. Punch a hole in the folded side. I used a 1 1/2" circle punch.

That's it. Now you just have to decorate it. I decided to make this after getting my new S.W.A.L.K. stamp set -You Deserve a Treat. And let me tell you, I am seeing a million uses for this stamp set! It was a perfect accompaniment to this project. I plan to give it to my girlfriend to show her how much I appreciate all that she does for me. But you could make up a few of these hanging bottle tags to have on hand for the next time you need to take a gift with you.


I hope you enjoyed the tutorial. And I hope you get a chance to make a few of these bottle tags.


I also wanted to remind you that there is a fun "Fall" challenge going on over at Sketches4all this week. There are a couple of great prizes so you might want to check it out!!


Thanks for stopping by my blog today.