
Here is a photo of my big and bold Faerie Poppet's project.

For my base card I pulled out a piece of Luxury Centura Pearl 12" x 12" Printable Snow White Cardstock and a large piece of lace. I taped the lace
to the front side of the paper. (shiny side). I love this paper! The shiny
side is gorgeous all on it's own and a perfect addition to any project but it is
also wonderful to just flip it over and use the non-shiny side for all of
your multi-media projects. This paper is a perfect weight and holds up to
paints, inks and other wet mediums.

After the lace was taped down, I sprayed the non-shiny side with Purple
Pansy Glimmer Mist.

Here is what it looked like dry after I took off the piece of lace. I
took this paper and cut it to 8 1/2" x 8 1/2" and adhered it to my white card
base.

I punched out the doily using my Martha Stewart Circle Edge Punch (stop back by tomorrow when I take you step by step through this awesome new product) and
cut my colored image into a circle that fit perfectly in the center. Sequins
are the "in thing" right now, so I grabbed some purple sequins and outlined the
circle with them. This really makes the colored image pop.
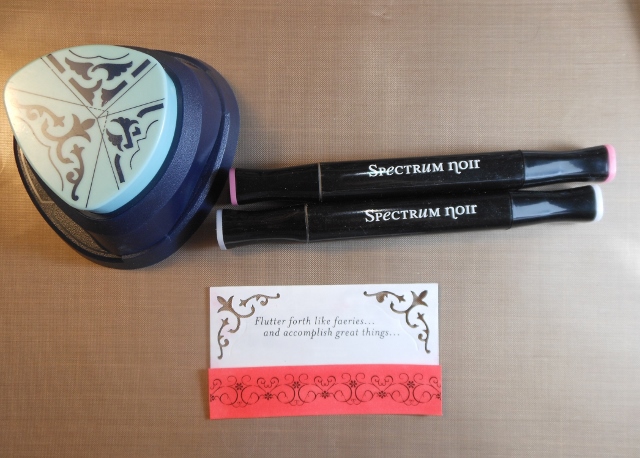
I trimmed my sentiment into a rectangle and used a decorative corner
punch. I colored the sentiment with my IG1 and HB1 Spectrum Noir markers. I
colored the stamped scroll work with my HB1 and CR6 Spectrum Noir markers. I
added some purple sequins to the scroll work for some sparkle.

One thing that I love to do is buy my embellishments in clear or white
and then custom color them with my Spectrum Noir markers to match my projects.
This is what I did with my flowers. I deliberately went for bold purple
highlights using my LV2 marker.
.jpg)
To put together the card, I layered the doily with the image onto my purple
lace card base. I tied a red ribbon around the card and adhered my
sentiment using double sided adhesive squares to pop it up off the card. To
finish I added my brightly colored flowers on two sides of the colored faerie.
And there you have it, a great big bold card for a special occasion. These stamps are available at Crafter's Companion right now.
Don't forget we have a new Crafter's Companion "Masculine" Challenge going on now for May. You could be the lucky winner of the $30 gift certificate to the Crafter's Companion store. Think of all the goodies you could buy!!!
Thanks for stopping and looking today!!
Until next time...happy scrapping!
Stacy
Thanks for stopping and looking today!!
Until next time...happy scrapping!
Stacy
Very, very pretty. I love it....
ReplyDeleteOh Wow this is an absolute stunner of a card Stacy, I love it! The Circle punch is fab will look out for that!
ReplyDeleteDebbie x (UK CC DT!)
LOVE LOVE LOVE the Fairie Poppets! They are all on their way to me as we speak! I can't wait to get them! TFS!
ReplyDelete