Friday, May 10, 2013

TGIF

TGIF!  Yeah it's Friday!  I'm really ready for the weekend this week.  How about you?  Do you have any fun Mother's Day plans (if you are in the US)?  My kids are threatening to take me out to eat at Red Lobster for Mother's Day.  They wanted to take me to the movie but there isn't anything out right now that I haven't seen that I want to see so I asked for a rain check.  Next week Star Trek Into Darkness comes out and I'm dying to see that movie so maybe we can go see that.  How about you?  Are you into Star Trek?  Are you waiting to see this movie too?  The first one was awesome!  I'm hoping this one is as good.

This week is our last week of lacrosse for this season.  There is a jamboree on Saturday and my son plays in two games.  It will be weird to not have cross practically every day of the week!!!   ha  Wish us luck!


I have a little card to share with you today. I was inspired to make it for two challenges.  My friend, Cheryl has a Word Prompt challenge and her word was SUN and the Sun Challenge over at Docerela Creations.  Pretty self explanatory! lol 

I think it is kind of a happy card!  What do you think?

Well, I need to rush off and take my kids to school.  Have a great weekend!!  Happy Scrapping!

Stacy

Thursday, May 9, 2013

Say Cheese!

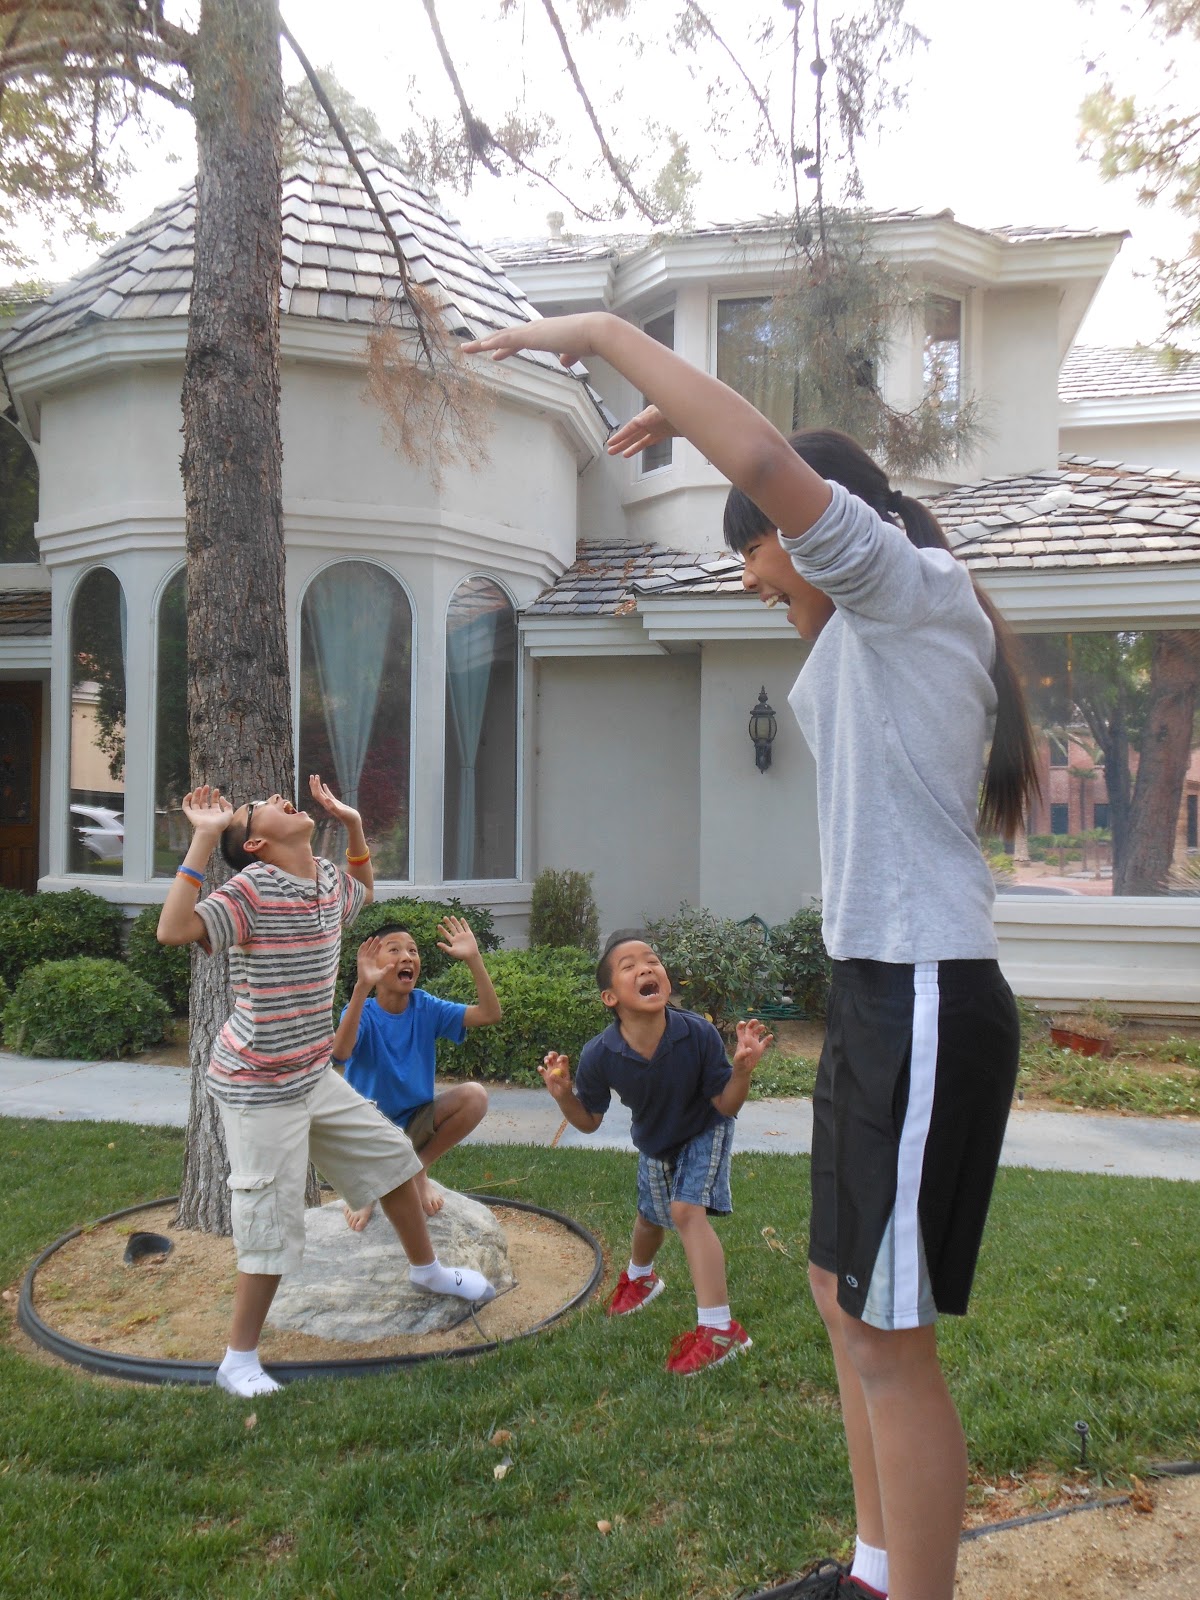
Mother's Day is coming up this Sunday (here in the US) and I had a package to mail to my Mom just waiting for me to add a couple of photos inside.  So I took my kids out in the front yard and tried to get a couple of good pics.  They were out of control like usual but most of the photos turned out cute!  Yeah!  So I did finally get that package in the mail.  So mom if you are looking at this and want to be surprised at your photos, stop reading now...... :-) 


Here is a layout I made using two of the photos from this "photo shoot".  (smile)  I used the challenge parameters from this weeks So You Think You Can Scrap challenge at Colorful Creations.  See....this great challenge is totally "making" me do more layouts! ha  I love it!


One of the rules of the challenge was that we could not use a trimmer, scissors or a knife except on the photos.  This was actually easier to deal with than I thought it would be.  I just tore my paper along the edge of a ruler.  Worked perfectly.


I used papers from the American Crafts - Dear Lizzy- Neaolitian paper pad.   Actually the embellies and alphas were from this pad too.  I did pull bling from my stash and I stamped out some of the gorgeous vines and flowers from the Sheena Douglas - A Little Bit Sketchy - Always Floral stamp set.  I LOVE this set.  Well...I LOVE all of the Sheena Douglass stamps as I am sure you notice if you follow my blog. ha  I'm super excited because she is coming out very soon with another cool Floral collection!  I've seen these new stamps and they are fabulous!  Anyway...

I stamped out one of the flowers on the title and added some opaque white embossing powder and heat embossed it.  I did this in the lower right corner of the other page of the double layout too.  It is a little harder to see.

I decided to print out my photo and then cut it in sections to be a little different.  I like how it looks.  What do you think?


I will end with a funny photo that my kids had me take.  This will be getting scrapped soon too!! ha

Stacy

Tuesday, May 7, 2013

A Friend is Someone...

Happy Tuesday!

Here's a card I made using one of my favorite stamp sets from Sheena Douglass - A Little Bit Sketchy - Through The Rain. 


I stamped out the image on to Ultra Smooth Premium White Cardstock using Ranger Tim Holtz Distress ink in Evergreen Bough.  And then I heat embossed it with clear embossing powder.

This card when together really quickly.  I used scraps of patterned paper that I had on my desk to build the layers onto a Kraft paper base.  I popped the sentiment up off the paper with some double sided adhesive squares for dimension.  I pulled some pink roses and pearls from my stash and tied them together with a pink ribbon bow.  To finish I added some Skittles as bling.  

Thanks for stopping and looking.  Don't forget to join in the Crafter's Companion May "Masculine" challenge this month.  Don't you want to be the winner of this months prize?! 

Until next time...happy scrapping!

Stacy 

Monday, May 6, 2013

Highs and Lows

Lots of highs and lows this last weekend.  My sweet son, Quinn became a teenager on Sunday.  I can't believe he is already 13!


My son, Jesse, had two lacrosse games on Saturday.  His team won the first game by a mile but were creamed in the second game by the undefeated #1 team in the league.  One of his team mates broke his arm during the first game.


Sadly after we came home from the games we found out that our sweet dog, Sophie had died.  She has been struggling with cancer for the last 10 months and she finally succumbed.  And even though she was with us for 15 years and we knew that this was coming, it is still such a difficult thing to have happen.  She was my kid before I had kids and I will really miss her so very much. 


One of the hardest things was having to get dressed up to go to the Ladybug Ball (a charity event for Blind Children in Nevada) after burying her.  We really were expected to be there so we sucked it up and went.  It was a very nice event at the Aria.  There was a silent auction and my hubby bid on an Imperial bottle of champagne (giant bottle that holds 8 bottles of champagne) and won it.  He was really excited about it. 


With all that was going on this weekend I was not able to scrap at all which was disappointing since it was National Scrapbook Day on Saturday.  Maybe next year.

Thursday, May 2, 2013

Pinspired and Crafter's Companion USA Joint Blog Hop

Welcome to the Pinspired - Crafter's Companion Joint Blog Hop! 

So glad you could come and hop along!  If you arrived from Roxanne's blog than you are on the right track.  If not, you might want to head to Annette's blog so you don't miss any blogs along the way.

Just in case you are new to either Pinspired or Crafter's Companion, here is a little bit about them both:


Crafter's Companion
Crafter’s Companion is a U.K.-based company with offices in Anaheim, CA and Northern England. Well known for their innovative paper crafting tools and accessories, their products are distributed and sold worldwide. their most popular products include Spectrum Noir Alcohol Markers, the Ultimate Crafter’s Companion Tool, the Ultimate Pen Storage, embossing folders, and EZMagnetic Storage panels for metal embossing and cutting dies. Their staff prides itself on top-notch service with a 100% customer satisfaction philosophy.

Pinspired Challenge Blog
Pinspired Challenges was created by a group of girls that LOVE Pinterest and crafting.... They came up with the idea of the challenge in the latter part of 2012 and the challenges launched in January of 2013. Their DT, or as they like to call themselves, "Pin Heads" have scoured Pinterest to bring you some amazing inspirational pins. They will post a brand new challenge on the 2nd and 4th Tuesday of every month. You will have until Thursday of the following week to link your entry onto the challenge post. That's 9 whole days to play along!!!! Inspirational photos are for you to interpret anyway you want.  You can also feel free to make any kind of craft you want as well, whether its a card, layout or altered item.

This hop runs from May 3 - 5 and will be showcasing Crafter's Companion stamps from Sheena's - A Little Bit Floral collection. You have TWO chances to win! You can hop around and comment on all of the blogs for one chance to win a gift certificate from Crafter's Companion.

For a second chance to win, you can play along with this challenge!


Using the image above to create a project and post it using InLinkz on the Pinspired Blog. You have until May 9, 2013 to participate in the challenge for a chance to win a gift certificate from Crafter's Companion. If you create AND comment on the Blog Hop, that gives you two chances to win!

Here is the full Hop List:

Annette
Audrey
Stacy - You are HERE.

When you are finished hopping around to all the blogs head over to the Pinspired Blog to finish up.  But while you are here please check out the sympathy card I made using Sheena's A Little Bit Floral EZMount Stamp - Floral Corners.
.

 
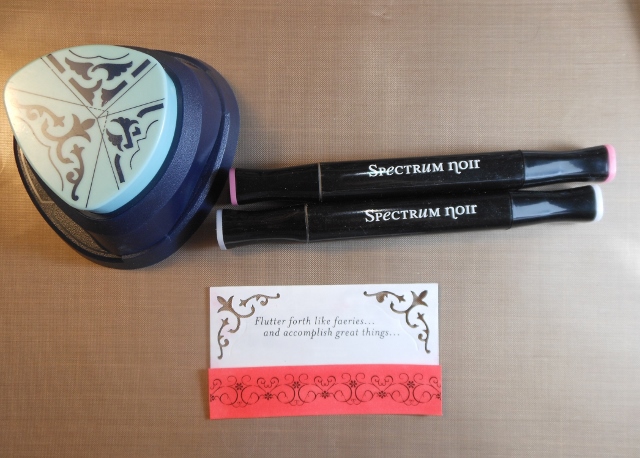
I colored the stamped images with my Spectrum Noir markers - PP1, PP2, OR1, EB2, EB4, CG1, CG2, CT1 and then fussy cut them out. 


I'm obsessing over my new 6 x 6 Embossalicious embossing Folders so I pulled out the Lattice one and embossed the pink paper to add a little more texture to my card.   I am happy with the results and I hope you like it too.
 

Now it is time to go to Stephanie L.'s blog.  Thanks for hopping along today!  Have fun!

Stacy

Martha Stewart Circle Edge Punch

I recently purchased the new Martha Stewart Circle Edge Punch starter kit from HSN.

My mother came to visit and I guess she is an avid HSN viewer and was just going on and on about how cool it was. SO of course I rushed to my computer and bought it!! LMBO (yes I have a problem - ha)

ANYWAY, it is super cool. Here is what it looks like all taken apart


You can change out the cutting cartridges very easily. They are sold separately (well mine came with 3 different edge punch cartridges) As soon as I ordered the starter kit my Mom bought me 2 more cartridges at JoAnns! (I'm spoiled I know! ha)


Here are the edge punch patterns I have. Aren't they cool!?!
 
To work this cool punch, you pull out the cutting base from the bottom of the cartridge. It is stored in a plastic cover on the bottom of the edge punch cartridge. (you can see this in the top photo) You push back the lever and easily slide in the plate.


Next you decide what size you want your circle to be. You can make circles from 6 inches to 12 inches. There is a dial on the side and one on the front and you just have to set them both to the number of the size you want. Super easy.


Here is the side dial. (I'm cutting an 8 inch circle)
 
 
Here is the front dial. (Set the number the same here too)
 
Now you cut out a square piece of paper a little larger than the circle you want. I cut mine to 8 1/2 inches and marked the center with a pencil mark.

 
The edge punch cartridge and the front knob are both magnetic. You center the paper under the knob. This is easier than you would think because you can see down inside the knob and there is a crosshatch inside. And the knob attaches to the magnet easily.

 
Then just attach the edge punch cartridge. It will pop on the magnet easily too.

 
Then you just punch and then turn the knob, punch, turn the knob, punch, turn the knob until the circle is punched out.

 
What do you think?? Think you need to own one??

Stacy

Wednesday, May 1, 2013

Faerie Poppets -Strawberry Patch

Who would like to get a look at the new Faerie Poppet's stamp collection just out from Crafter's Companion?   Well if you said yes, then you are in luck because I plan to show you a project I just made. 


 Here is a photo of my big and bold Faerie Poppet's project.
 
First I stamped out the FAERIE POPPETS - Strawberry Patch Faerie and my sentiment with Tuxedo Black Memento ink on to my Ultra Smooth Premium White Cardstock and colored her with my Spectrum Noir markers using HB1, CR2, CR4, CR6, CR7, CG1, CG2, CT1, IG1, BGR1 and BGR5.
 
For my base card I pulled out a piece of Luxury Centura Pearl 12" x 12" Printable Snow White Cardstock and a large piece of lace. I taped the lace to the front side of the paper. (shiny side). I love this paper! The shiny side is gorgeous all on it's own and a perfect addition to any project but it is also wonderful to just flip it over and use the non-shiny side for all of your multi-media projects. This paper is a perfect weight and holds up to paints, inks and other wet mediums.  


After the lace was taped down, I sprayed the non-shiny side with Purple Pansy Glimmer Mist.


Here is what it looked like dry after I took off the piece of lace. I took this paper and cut it to 8 1/2" x 8 1/2" and adhered it to my white card base.


I punched out the doily using my Martha Stewart Circle Edge Punch (stop back by tomorrow when I take you step by step through this awesome new product) and cut my colored image into a circle that fit perfectly in the center. Sequins are the "in thing" right now, so I grabbed some purple sequins and outlined the circle with them. This really makes the colored image pop. 


I trimmed my sentiment into a rectangle and used a decorative corner punch. I colored the sentiment with my IG1 and HB1 Spectrum Noir markers. I colored the stamped scroll work with my HB1 and CR6 Spectrum Noir markers. I added some purple sequins to the scroll work for some sparkle.


One thing that I love to do is buy my embellishments in clear or white and then custom color them with my Spectrum Noir markers to match my projects. This is what I did with my flowers. I deliberately went for bold purple highlights using my LV2 marker.


To put together the card, I layered the doily with the image onto my purple lace card base. I tied a red ribbon around the card and adhered my sentiment using double sided adhesive squares to pop it up off the card. To finish I added my brightly colored flowers on two sides of the colored faerie. And there you have it, a great big bold card for a special occasion.   These stamps are available at Crafter's Companion right now.
 
Don't forget we have a new Crafter's Companion "Masculine" Challenge going on now for May.  You could be the lucky winner of the $30 gift certificate to the Crafter's Companion store.  Think of all the goodies you could buy!!!

Thanks for stopping and looking today!!

Until next time...happy scrapping!

Stacy